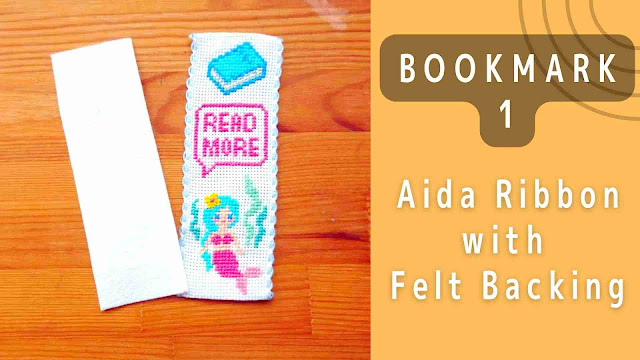
Bookmarks are useful for everyone, you can make easy simple cross-stitch bookmarks. Great as a special gift for someone you love or for yourself.
Let's finish up your cross-stitch bookmark!1. Iron a bookmark
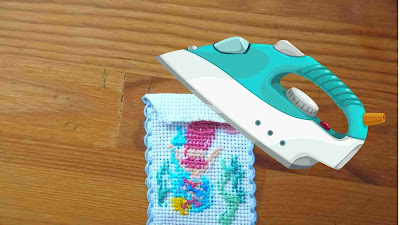
Place your finished bookmark face down on a towel.
Then, place a thin towel or handkerchief on top of your bookmark. And press it.
Fold the top and bottom of the fabric back about 1/2 inch (1 cm) and iron the fabric.
2. Cut the felt
Cut out the felt slightly smaller than the bookmark.
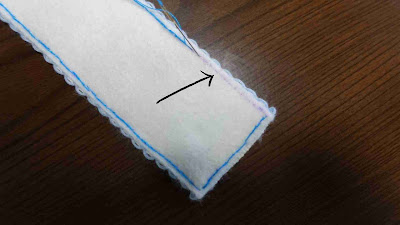
3. Sew 2 pieces of fabric together
Sew together in backstitch.
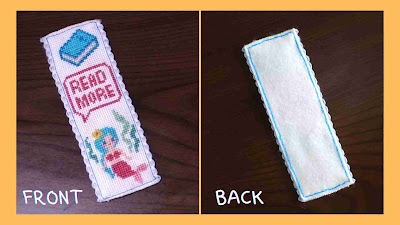
4. You are done!
Check out my video tutorial!


Comments