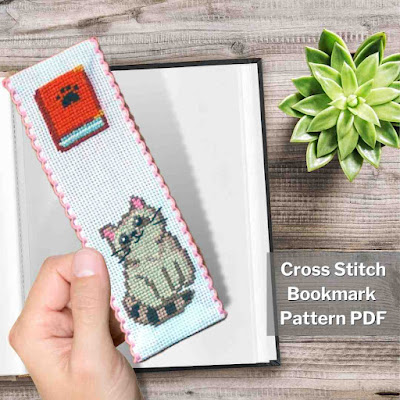
Make handmade fabric bookmarks without sewing with Aida bands and felt!
Materials
- Outer fabric: Your finished bookmark (Aida band)
- Backing fabric: Felt
- Iron-on fabric tape
- Scissors
01. Trim and iron the bookmark
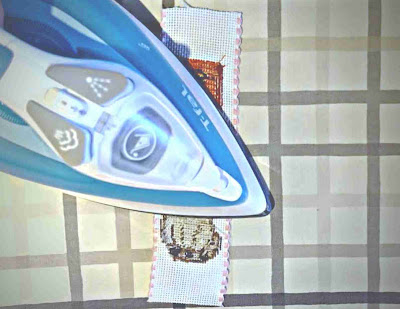
When you’ve completed your design, trim both ends of the Aida band, leaving at least 1"(2,5cm) of extra fabric.
Gently iron the bookmark on the wrong side.
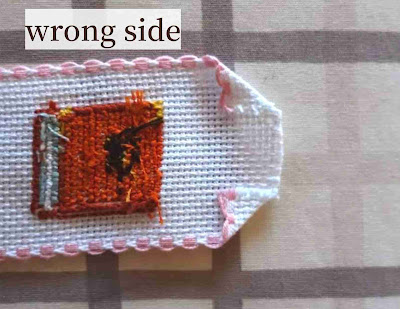
02. Fold both ends of the Aida band
Fold the corners towards the wrong side, then fold the excess fabric to the wrong side and press with an iron.
03. Cut the felt
Cut the felt to about the same size as the bookmark.
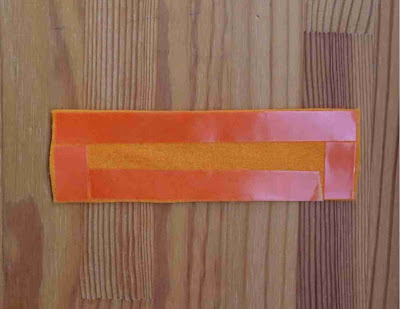
Run the iron-on adhesive tape near the edge of the felt. Then cut it out neatly along the edge of the tape.
Carefully position your felt onto the bookmark and iron following the manufacturer's instructions.
TIP:
If the felt is made of polyester, it will melt, so be careful when setting the iron. Turn your iron to the Poly setting with steam and move quickly across the felt. It is better to place a thin towel or handkerchief on top of the felt and iron it.
Check out my Etsy shop for cross stitch bookmark patterns.
All patterns are designed to fit 14 count 2" wide aida bands.


Comments